Adventures in Mirror Cleaning
The general advice on cleaning mirrors is don't. That is good
advice. There comes a point where time, dusty wind, or a
unsupervised child will force you to clean the mirrors.
This page specifically talks about my experience as a first time user
using Collodion USP. This is sold in tubes by Mavidon.
You can buy larger amounts for big projects. The web site gives very
complete instructions on its use and safety.
Some Warnings that the Instructions Also Cover.
- You are working with
ether. It is explosive and toxic.
- Work outside
- Don't smoke.
- Make sure nothing
will cause static electricity
Examples
There is a definite learning curve in using Collodion. I will
present 4 examples that show what to do, what can go wrong, and how to
make things right.
Case 1 - 8" Main Mirror
- Dusty from travel
- Need to preserve center ring
- Glued into mount.
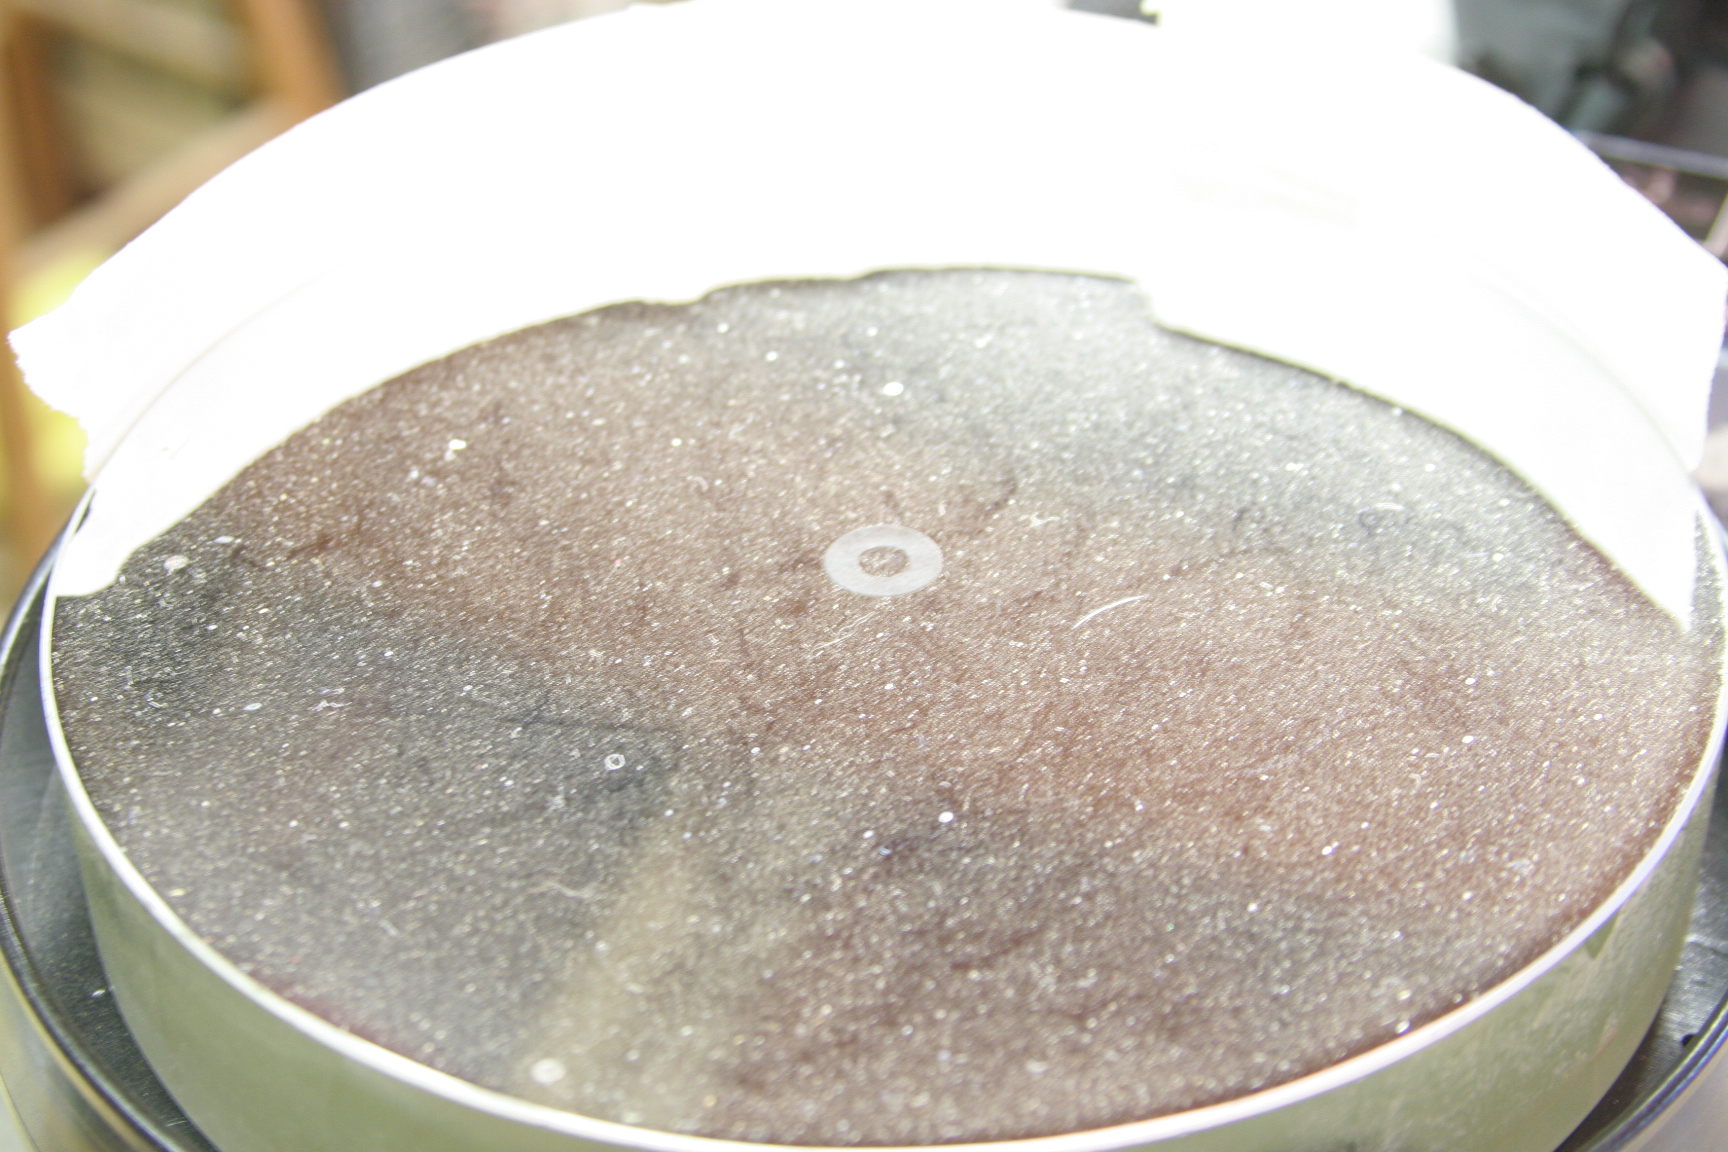
I created a dam around the full circumference of the mirror using
masking tape. The picture above shows this partially in
place. It is very important that the seal be tight. The
Collodion is very thin and will leak if given a chance.
As the Collodion drys it will pull away from the surface. Don't rush this process. After
a bit it will look like this
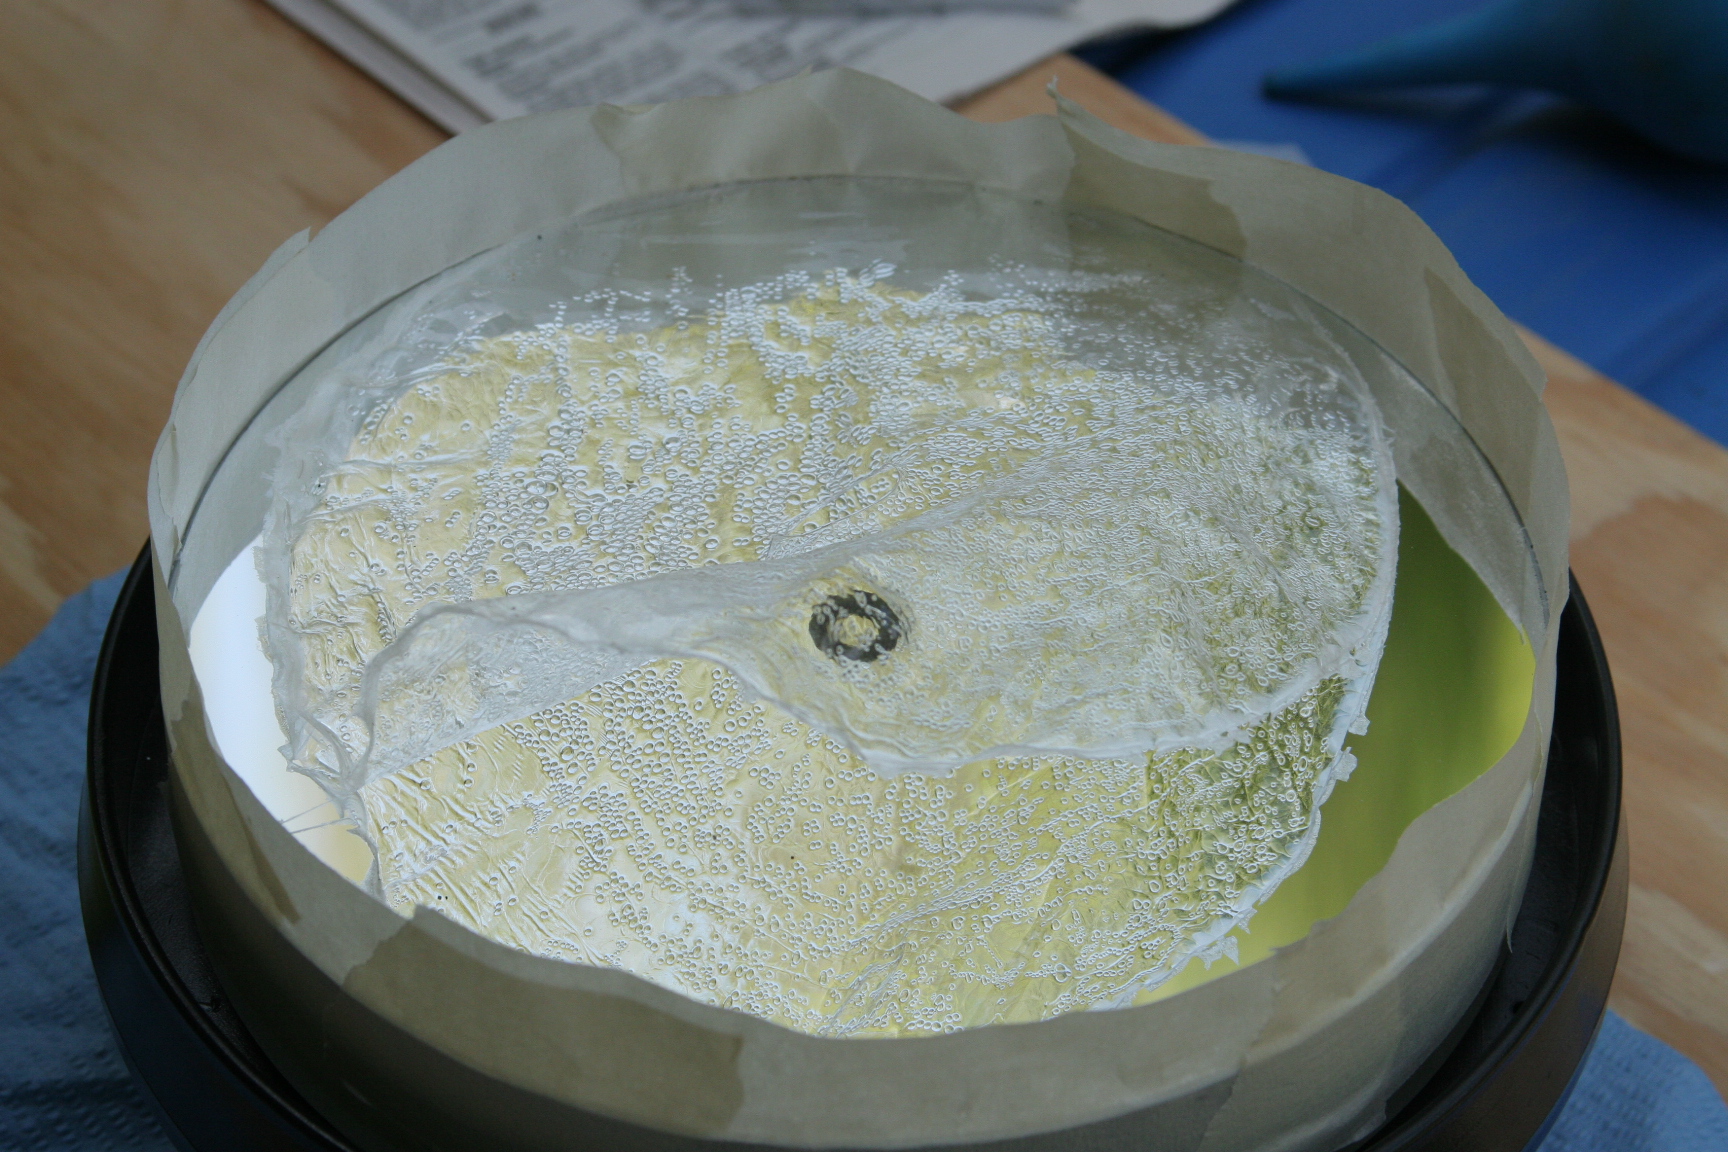
While this picture does not show it very well I did not put Collodion
on the very center of the mirror. That way the center dot was
preserved. This meant the very center was not cleaned, but the
center is lost anyway to the shadow of the secondary.
The Collodion drys to a hard film. When it is completely dry it
remove it with tweezers. Carefully blow off flakes or use a
corner of some tape.
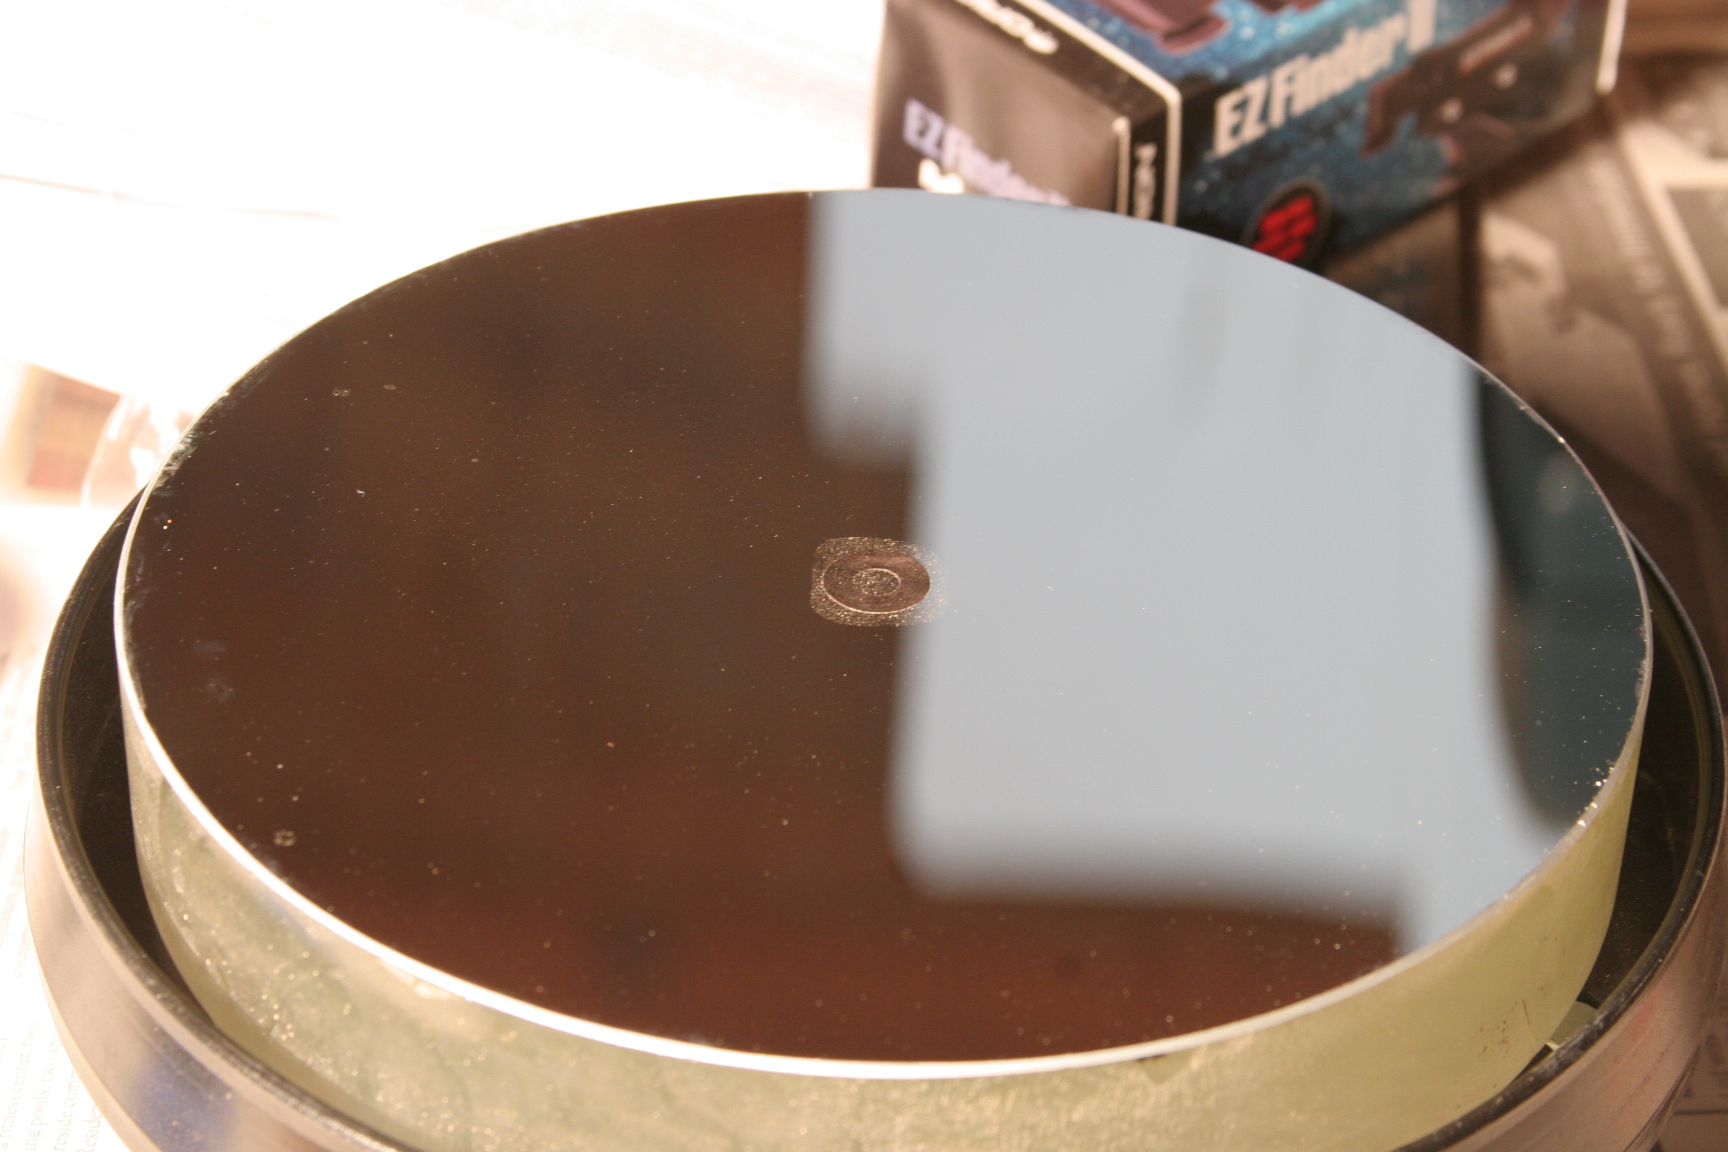
Quite a difference! I probably should have puffed the mirror
since even in this short time it accumulated some dust. Note the
contrast between the center which was not cleaned and the rest of the
mirror.
Case2 - Secondary
- Unsupervised child
- Travel dust
- glued to spider
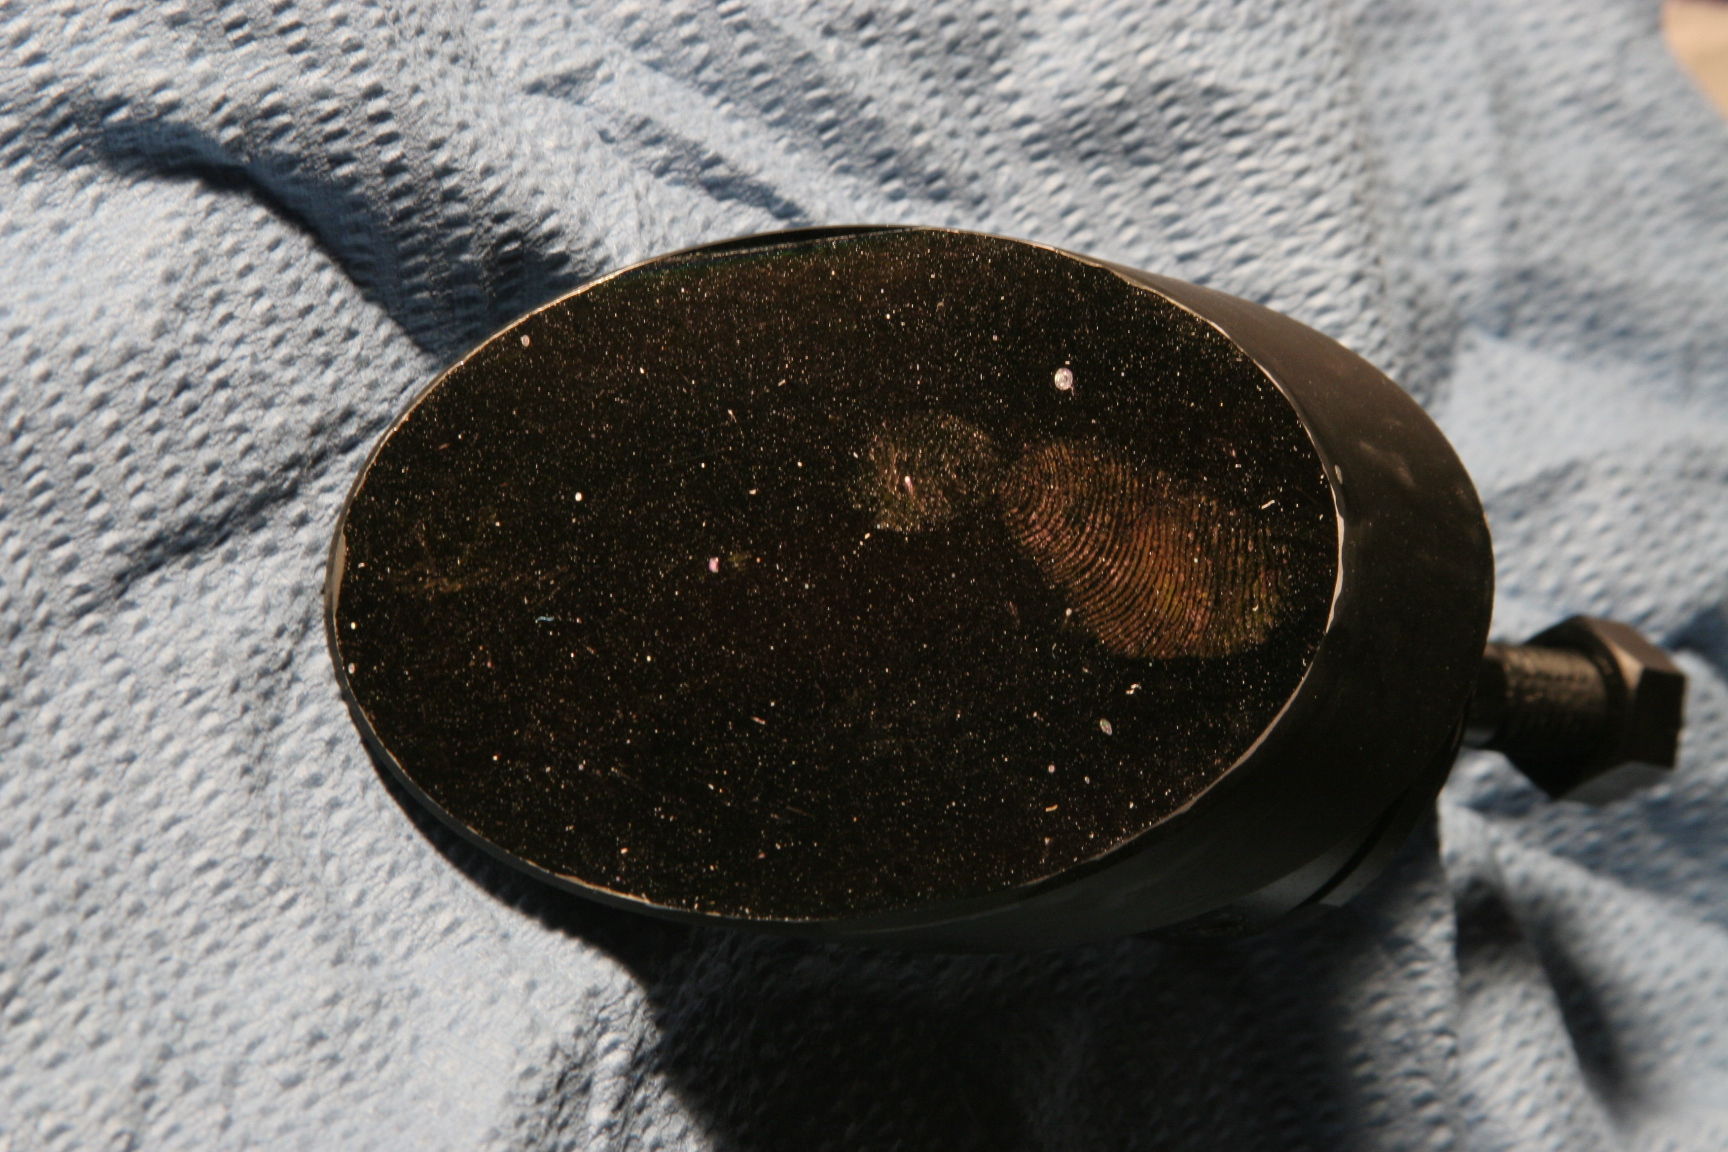
The secondary was a bit harder since you can not lay it flat. I
clamped it to a miter box which made the surface level. I taped
around the edges as best I could using 3M blue tape. The shape
meant that on the right side above the tape was very close to the
surface of the mirror.
During my first attempt at this mirror I rushed the drying process and
/ or did not shake the tube. The result was
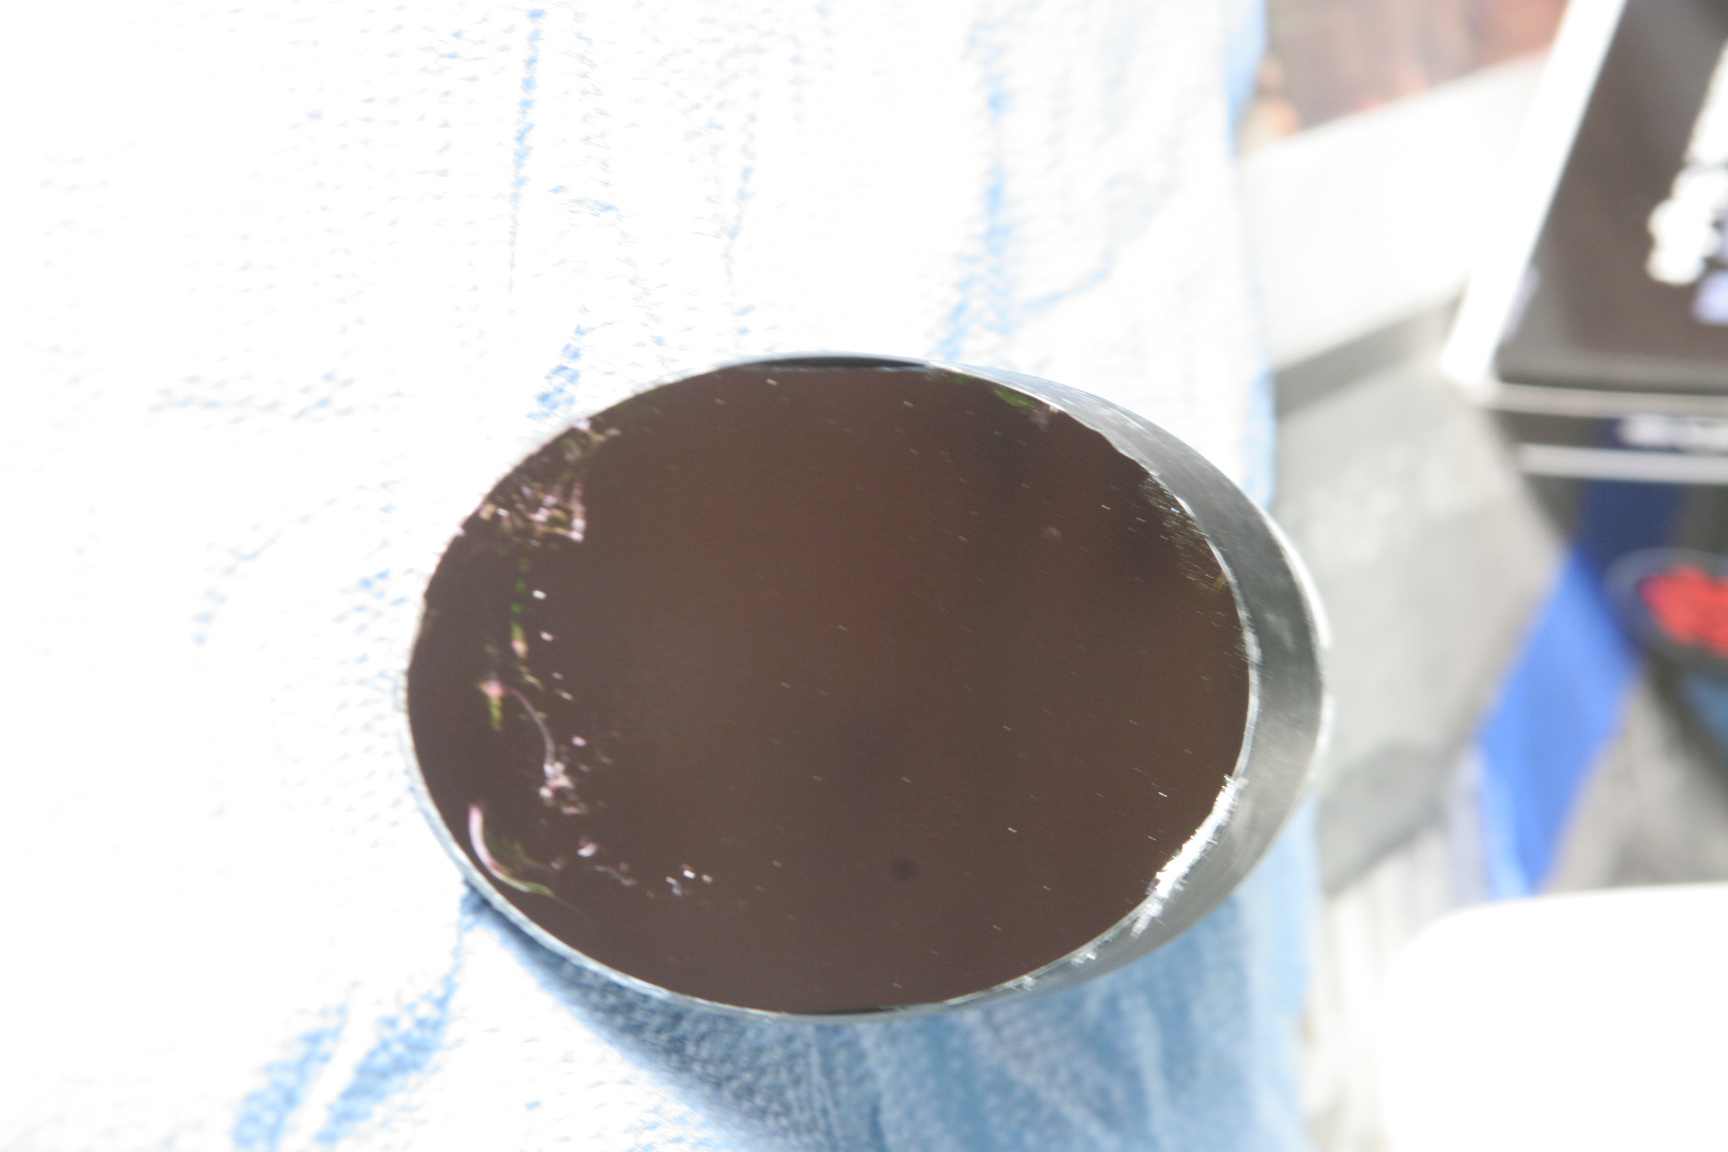
That was discouraging. I tried cleaning the residue with some USP
Isopropyl Alcohol. That helped, but did not remove
everything.
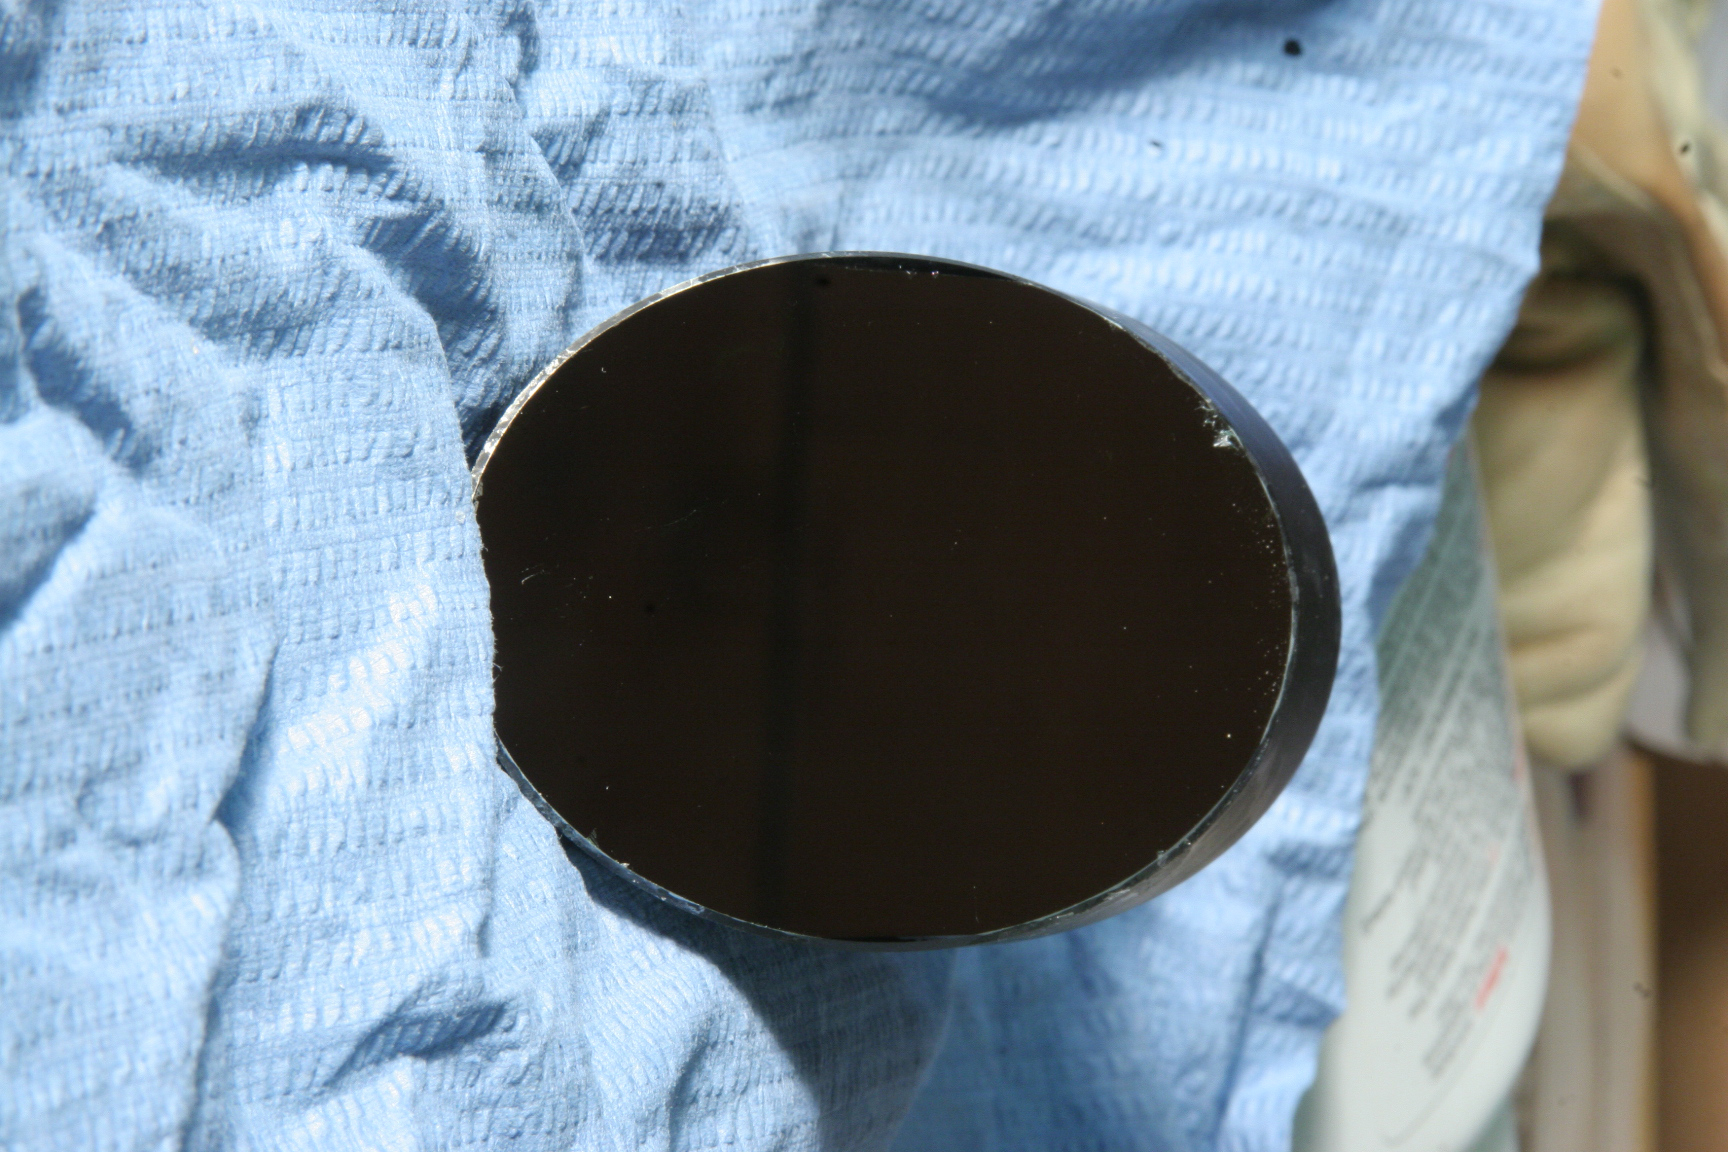
Before Try 2 I shook the tube to mix the Collodion. I pored it on
rather thickly not by intent, but because the mirror was not initially
clamped level. The Collodion was allowed to dry for about 3 hours
at
70º F (21º C). This time the dried Collodion came off
cleanly. The result is not perfect, but way better than at the
start.
Case 3 - 18" Primary Mirror
This was the mirror from an astronomy club telescope. It was
simply dirty through use. I did the cleaning on a March date
which means cool, but not cold temps (probably 70sº F or 20sº
C).
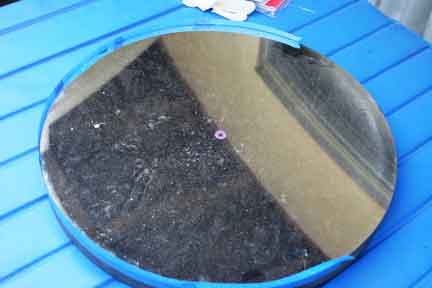
The mirror definitely needed cleaning. It was center doted with a
reinforced circle.
As you can see I built a dam around the edge of the mirror.
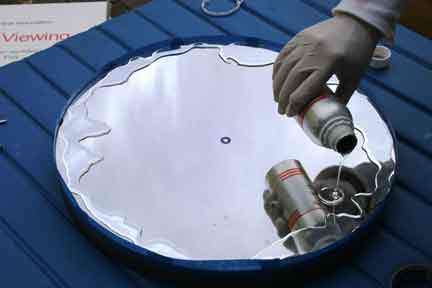
I used the larger size this time. I poured the Collodion on
starting
from the edges trying to preserve the center dot as I had done on the
8". Unfortunately since this mirror was larger the curve was
deeper. It flowed into the center.
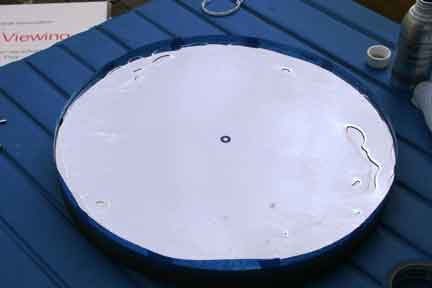
I ran out!
What I should have done at this point was to tip the mirror to cover
the gaps.
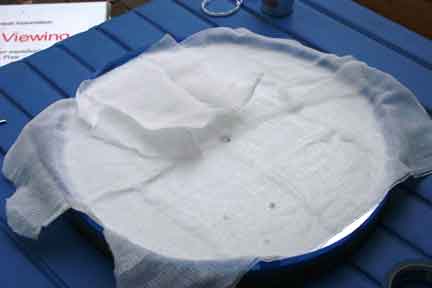
This time I used cheesecloth. Once the Collodion was on I laid
some
precut lengths on the mirror and gently pushed it into the drying
Collodion
with gloved fingers
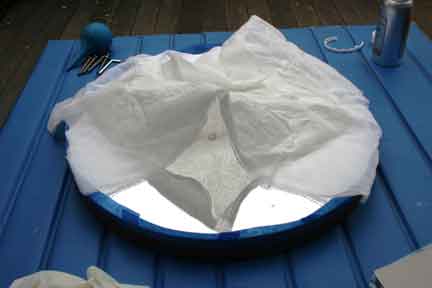
When the Collodion dried it was embedded in the cheese cloth. I
just
lifted the cloth off the surface and I was done.
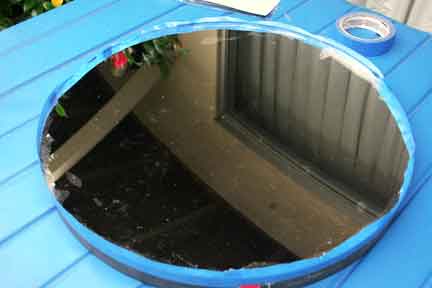
Not perfect, but much better. You can see the spots that did not
get Collodion.
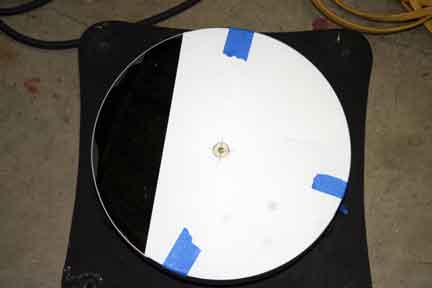
The center dot was history. You could faintly see where it was,
but I wanted to remeasure.
What I did was to create a template using a CAD/CAM program. I then
printed this using 3 overlapping legal size sheets. By combining 3
layers each rotated 90º I could cover 1/2 of the mirror as shown
at the left. This is an example of
putting the center dot on a 10" mirror.
Using the template not only tells me where the center dot is, but also
protects my nice clean mirror.
Other authors use rulers to measure the location. That will
work,
but it seemed like more effort and faced a number of measuring
uncertainties. Bear in mind for the larger mirrors
a template sized to the diameter of the mirror will actually be too
small since the mirror surface is larger due the the curve. Just
make sure that you have allowed a uniform amount of space at the edges.
Case 4 - 15"
Mirror on a day that was too hot
Call it global warming or bad luck. My final example was a 15"
done on a day in triple digits F (> 37ºC).
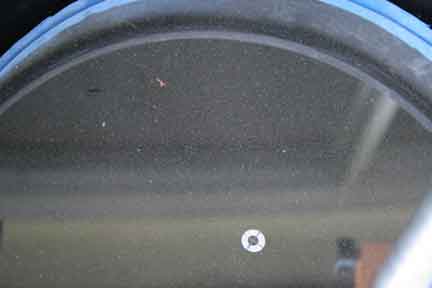
This mirror was covered by the red dust from the former site of the
northern california summer star party.
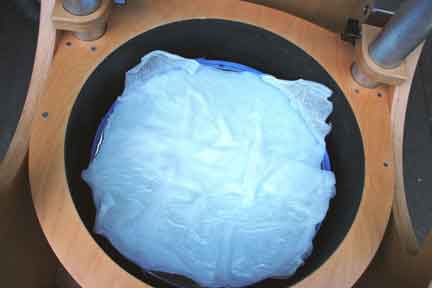
This mirror was glued to its mirror cell. I did not want to take
the telescope appart.
Everything was proceeding as with the 18" scope. This time I
swirrled the mirror to make sure the entire surface was covered.
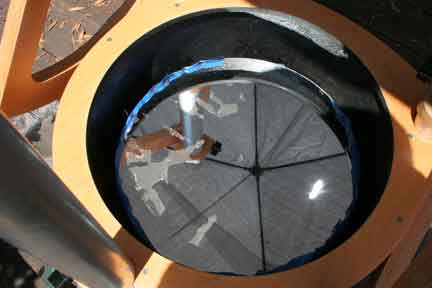
The first hint of a problem. A lot of Collodion was stuck to the
mirror.
When this happened before on the secondary I diagnosed the problem as
not shaking the Collodion. In this case I believe the Collodion
did not dry properly due to the heat.
An air puffer would not remove the residue.
I was out of Collodion. Faced with either not using the scope for
several weeks or trying to wash the surface I chose the latter.
I tilted the scope at angle so any water would run off (about
30º). I then pour about a gallon (4 liters) of distilled
water over the surface.
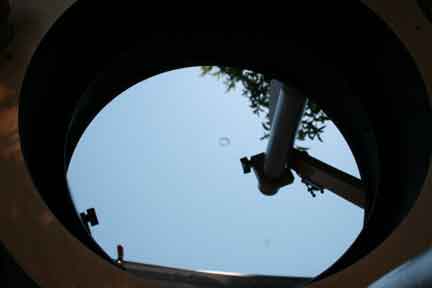
The result exeeded by wildest expectations!
The mirror was cleaner than any other mirror in this series. I
used my puffer to encourage any lingering drops of water to
leave. In the high heat and low humidity the mirror dried quickly.
I did not use alcohol to remove water spots. Alcohol might have
attacked some of the parts of the scope. I did not observe any
signficant water spotting.
Lessons Learned
- Shake the tube
- Allow very complete drying.
- Don't work on hot days
- Use cheese cloth (at least on large mirrors)
- A wash with distilled water may
improve results
Is It Better Than using Water?
Good question. I have never used water to clean a mirror mostly
because my optics are mounted using silicone glue.
What I can say
- This is a fast method. Total time about 3 hours.
Multiple Mirrors can be done in parallel
- I bought the material in 2 Oz tubes. The two mirrors shown
plus another secondary not shown required 2.5 tubes.
- Allow time to dry completely
- Shake the tubes
- This method works with the optics mounted
- It does not require you to touch the surface of the mirror
- It makes short work of dust and fingerprints.
But I would still not make cleaning mirrors something I would do very
often.
rjh 3/11/09b


